Fasting talk for women 40+, Sweaty Betty, Ponsonby, 2nd Aug, only 25 spots.
Book Now! →Is midlife leaving you drained & searching for answers?
Discover the power of fasting with a supportive community of Kiwi women. Because YOU deserve to feel better.
Learn about membershipHi, I'm Wick – I see you!
You’ve hit a stage of life that no one really prepared you for. Your body feels unfamiliar. Your emotions are running the show. The weight won’t budge. Sleep is broken, energy is low, and you’re left wondering, “Is this just how it is now?”
I’m here to tell you: no, it’s not.
Midlife is not the beginning of the end – it’s the beginning of something entirely new – it's not doom and gloom, it's a chance to reconnect with your body, take back control, and feel like you again.
I help women 40+ in perimenopause and menopause go from exhausted and fighting their own body to energised and back in control of their weight, sleep, and mood, using fasting and lifestyle strategies built for this stage of life - and what makes me different? I've walked this road myself and I'm still walking it, so I coach from lived experience.
Where Would You Like To Start?
Online Membership
Discover more about the Wicked Healthy Tribe and unlock the fasting secrets to thriving in midlife.
Thermomix
Discover how this kitchen wonder can revolutionise your health and save you time on your midlife journey.
One Day or Weekend Retreats
Escape, recharge, and transform your wellbeing with my day or weekend retreats.
Now, let's talk about one of my favourite subjects: food!
I believe that nutritious, delicious meals are the cornerstone of a vibrant life. But I also know that in our busy world, finding time to cook healthy meals can feel like Mission Impossible.
That's where my secret weapon comes in - the Thermomix. This incredible kitchen companion has revolutionised the way I approach cooking, making it easier, quicker, and more sustainable to create nourishing meals. I loved it so much that I became a Thermomix consultant in 2023! Find out how this incredible machine can revolutionise your world too!
LEARN MORE
NICE TO MEET YOU
Hi, I’m Wick — founder of Wicked Wellbeing and a certified Fast Like a Girl Coach through Dr. Mindy Pelz. I help midlife women 40+ navigate the rollercoaster of perimenopause and beyond with real tools, support, and a fresh approach to health. I know the struggle firsthand—mood swings, weight gain, anxiety, sleepless nights and feeling like a stranger in your own body. Discovering fasting changed everything for me, and now I’m here to help you find what works for you too.
I grew up on a farm in Hawke’s Bay, where my love of fresh, wholesome food began. That passion has stayed with me through motherhood, career, and now midlife. Wicked Wellbeing is where I share what I’ve learned—so you can stop guessing and start feeling like you again.


Kerry Kelly
A friend took me to a Thermomix demo that Wick had organised and as a keen foodie who loves cooking, I'd always been curious about the Thermomix hype. Well it's not just hype, it's all true! I live in a small apartment where space is a real premium! With my 'Thermi' I replaced my food processor, steamer, smoothie make and slow cooker, I use it daily and regularly make fresh bread and lovely thick Greek yoghurt that tastes soooo much better than shop bought! I will NEVER be parted from it.

Lesley Wakelin
What a difference a year in the Tribe has made! My struggles with weight, inflammation, gut issues, and menopausal symptoms have transformed. Fasting and whole foods have allowed my body to self-repair, balancing hormones, reducing inflammation, and control blood sugar. I’ve also had a huge reduction in gut issues, with the added benefit of weight loss. Taking slow, small, consistent steps towards health has been key for me. This approach has proven life-changing and sustainable, unlike other diets I've tried before.
A Retreat Guest
I love attending Wick’s retreats, this is my third one. The group of ladies were lovely, as was the food. Learning about stress management and blood sugar levels was enlightening, and I left well-informed and with a plan to make positive changes.
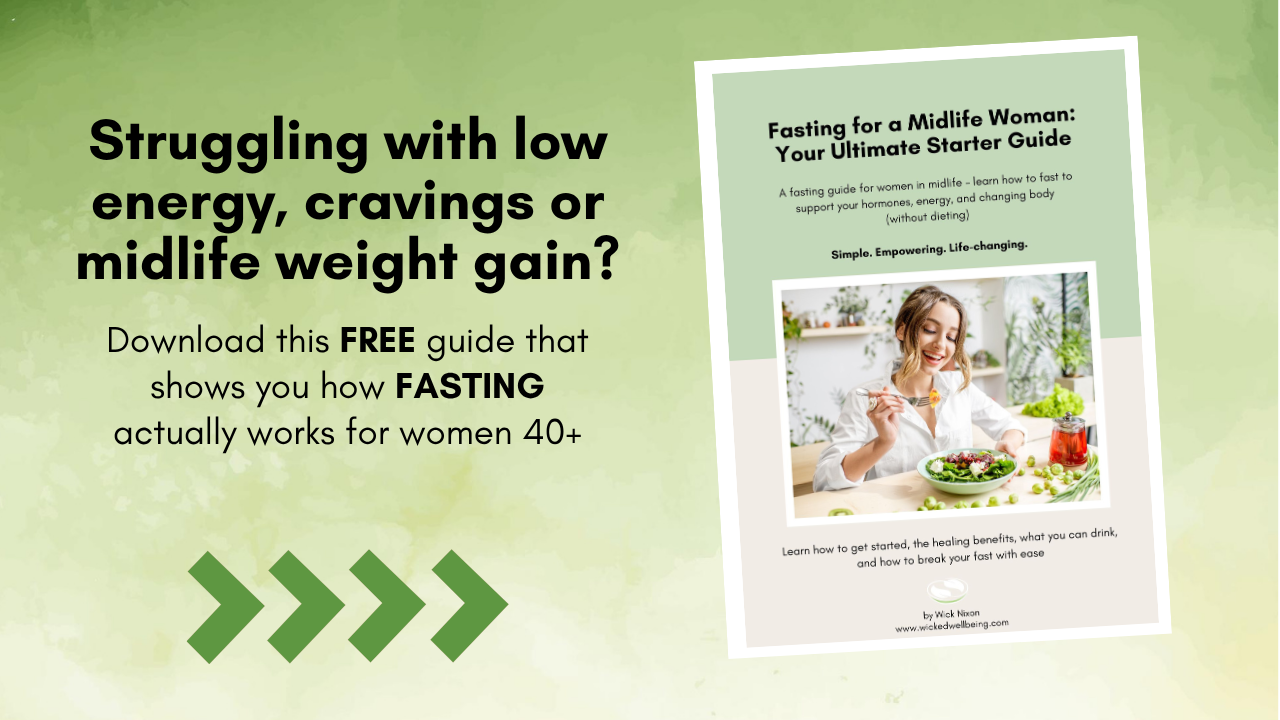
Struggling with low energy, cravings or midlife weight gain?
Are you waking up tired, frustrated that nothing works, or feeling like your hormones are calling the shots? You're not alone.
Grab your free copy of "Fasting for a Midlife Woman: Your Ultimate Starter Guide" and learn how fasting (done the right way for women in midlife) can:
✨ Reset your energy ✨ Shift stubborn weight ✨ Calm the hormonal chaos
You'll fully understand what's happening in your body and how to take back control without diets of overwhelm.
Enter your details below and it’ll be in your hot hands in seconds!
You're safe with me. I'll never spam you or sell your contact info.